A Rock's History
To gather some appreciation of our world, especially our rock world, we are going to gather an assortment of rocks from our campus. You will use a rock key to classify some of the samples we collect.
Procedures:
- The class will go outside to collect an assortment of rocks. You will need to collect at least one sample to use for the remaining procedures. Please stay with the class and observe boundary restrictions on our hunt.
- From the rock assortment, choose one sample. Draw a picture of the details in your sample. Remember to use color to enhance your observations. List the physical characteristics.
- Follow the instructions to determine if your sample is metamorphic, sedimentary or igneous rock.
Questions:
- Are your crystals large enough to see using the magnifying glass? Or with a microscope?
- What do you see using the magnifying glass or microscope?
- Can you see different types of materials within the same rock (fossils, layers of different material, color contrast)?
- Would you classify rocks as a mixture? Why?
- What step on the rock key helped you to identify your rock?
Conclusion:
When writing a conclusion on a lab, please summarize the lab procedures you found helpful in solving the problem presented. Summarize the findings of your experiment (classifying your rock sample). What did you like most about this lab?
Ninety minutes to two hours.
Instructional Support Downloads
Suggested materials
Materials for this task include magnifier, safety goggles, hammer, nails, microscope, bucket, newspapers for tables, HCl (optional), resource books and rock identification charts, notebooks, 3x5 index cards and pencils for taking field notes.
Common white vinegar, a less caustic acid than HCl, can also be used to detect the presence of limestone or dolostone (rich in calcium and magnesium carbonates). Pouring a small amount of vinegar onto the rock sample will produce “fizzing” as the acid reacts with the base elements in the rock. (Note: Limestone will bubble much more than dolostone. Placing acid on powdered dolostone, scratched out by a knife or nail, will create more of a fizz.)
Specific solutions will vary depending upon the samples collected. Solutions should include data related to characteristics observed in the lab and/or outside. Assessment should be based on the student's ability to apply prior knowledge and appropriate tests (e.g., hardness) and use identification keys and scientific tools (e.g., magnifiers) appropriately.


The student’s drawing of the rock sample shows some detail but lacks labels describing the rock’s physical characteristics. No specific color indicators are noted in the drawing. The student shows evidence of using tools (magnifier and microscope) but identifies crystals only through their use, when other items could also be seen (sand particles, different layers, colors, etc.). The student classifies rocks as a mixture but provides no viable explanation – indicating a lack of understanding of the scientific term or its meaning. No conclusions are given. No procedures are summarized, indicating a lack of a strategy for investigation.
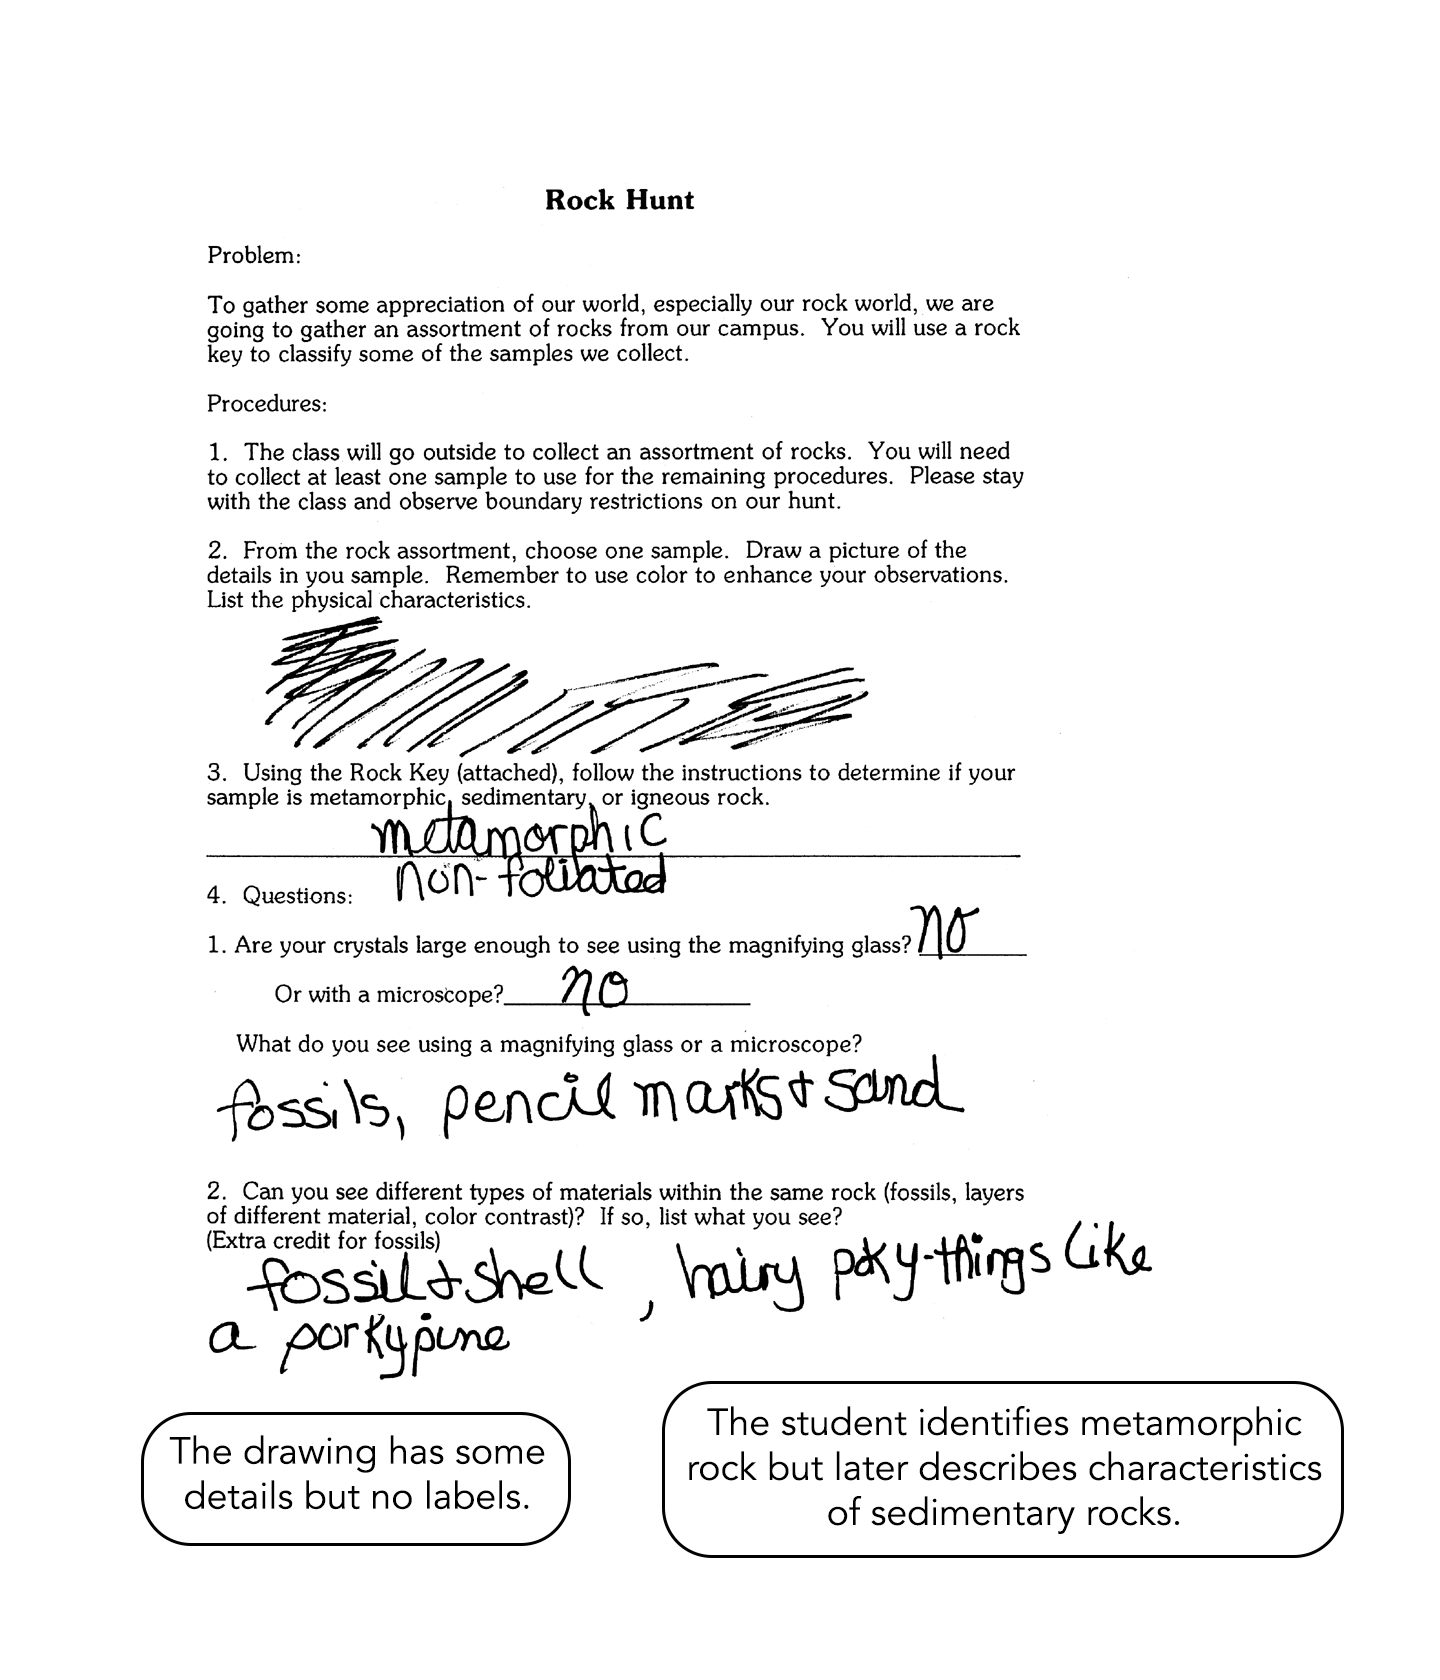
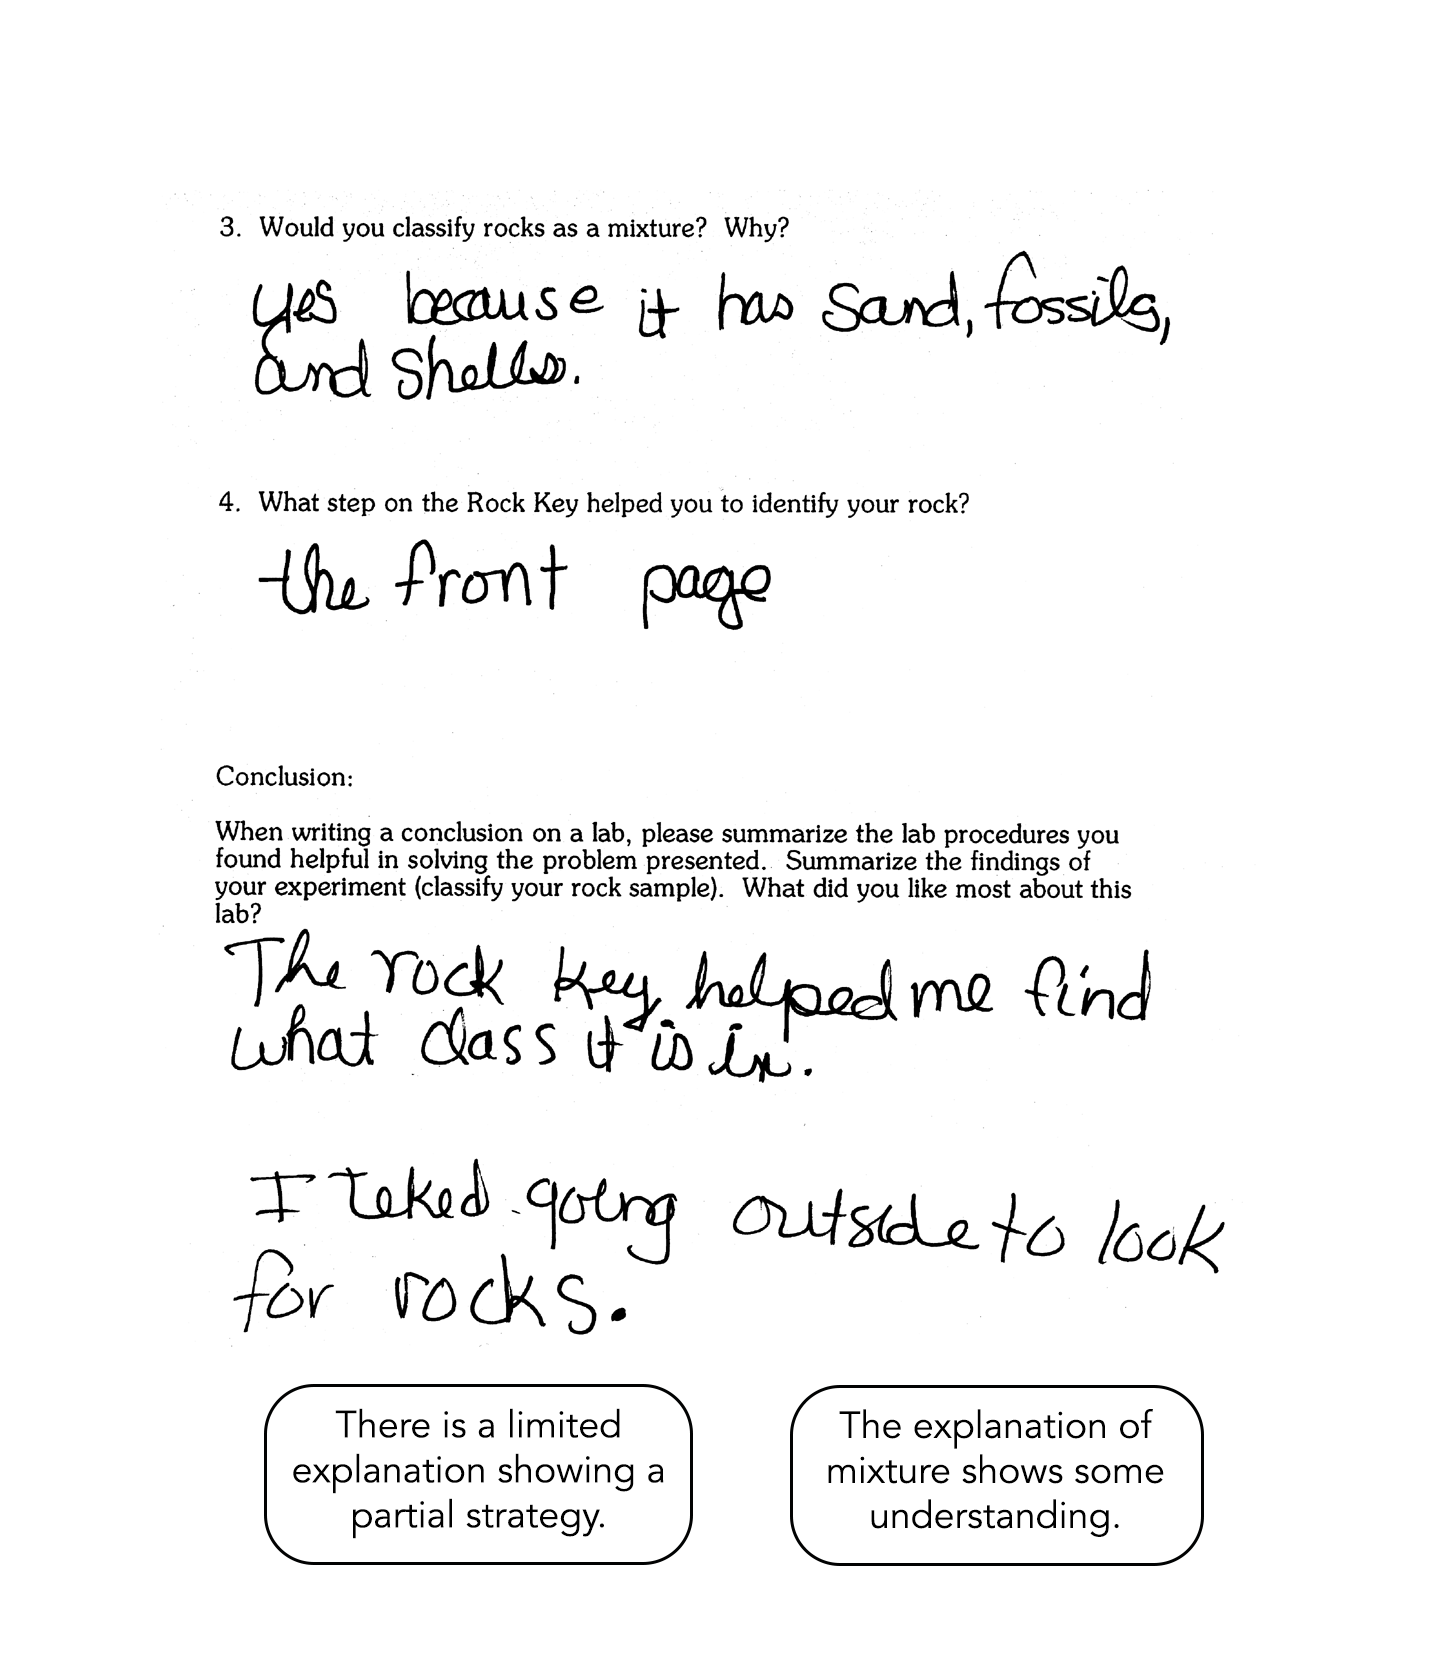
The student’s drawing of the rock sample shows some detail but lacks labels describing the rock’s physical characteristics. No specific color indicators are noted in the drawing. The student identifies the rock as metamorphic but later describes characteristics of sedimentary rocks, indicating some understanding of observable characteristics but a lack of understanding in how to use the identification key. The student shows evidence of attempting to use tools (magnifier and microscope) appropriately and identifies no crystals, some sand particles, fossils, and “hairy, pokey things like a porcupine.” The student classifies rocks as a mixture and provides an explanation with examples (sand and shells) – indicating some understanding of the scientific term. Limited conclusions are given, using only the identification key, indicating a partial strategy for investigation.
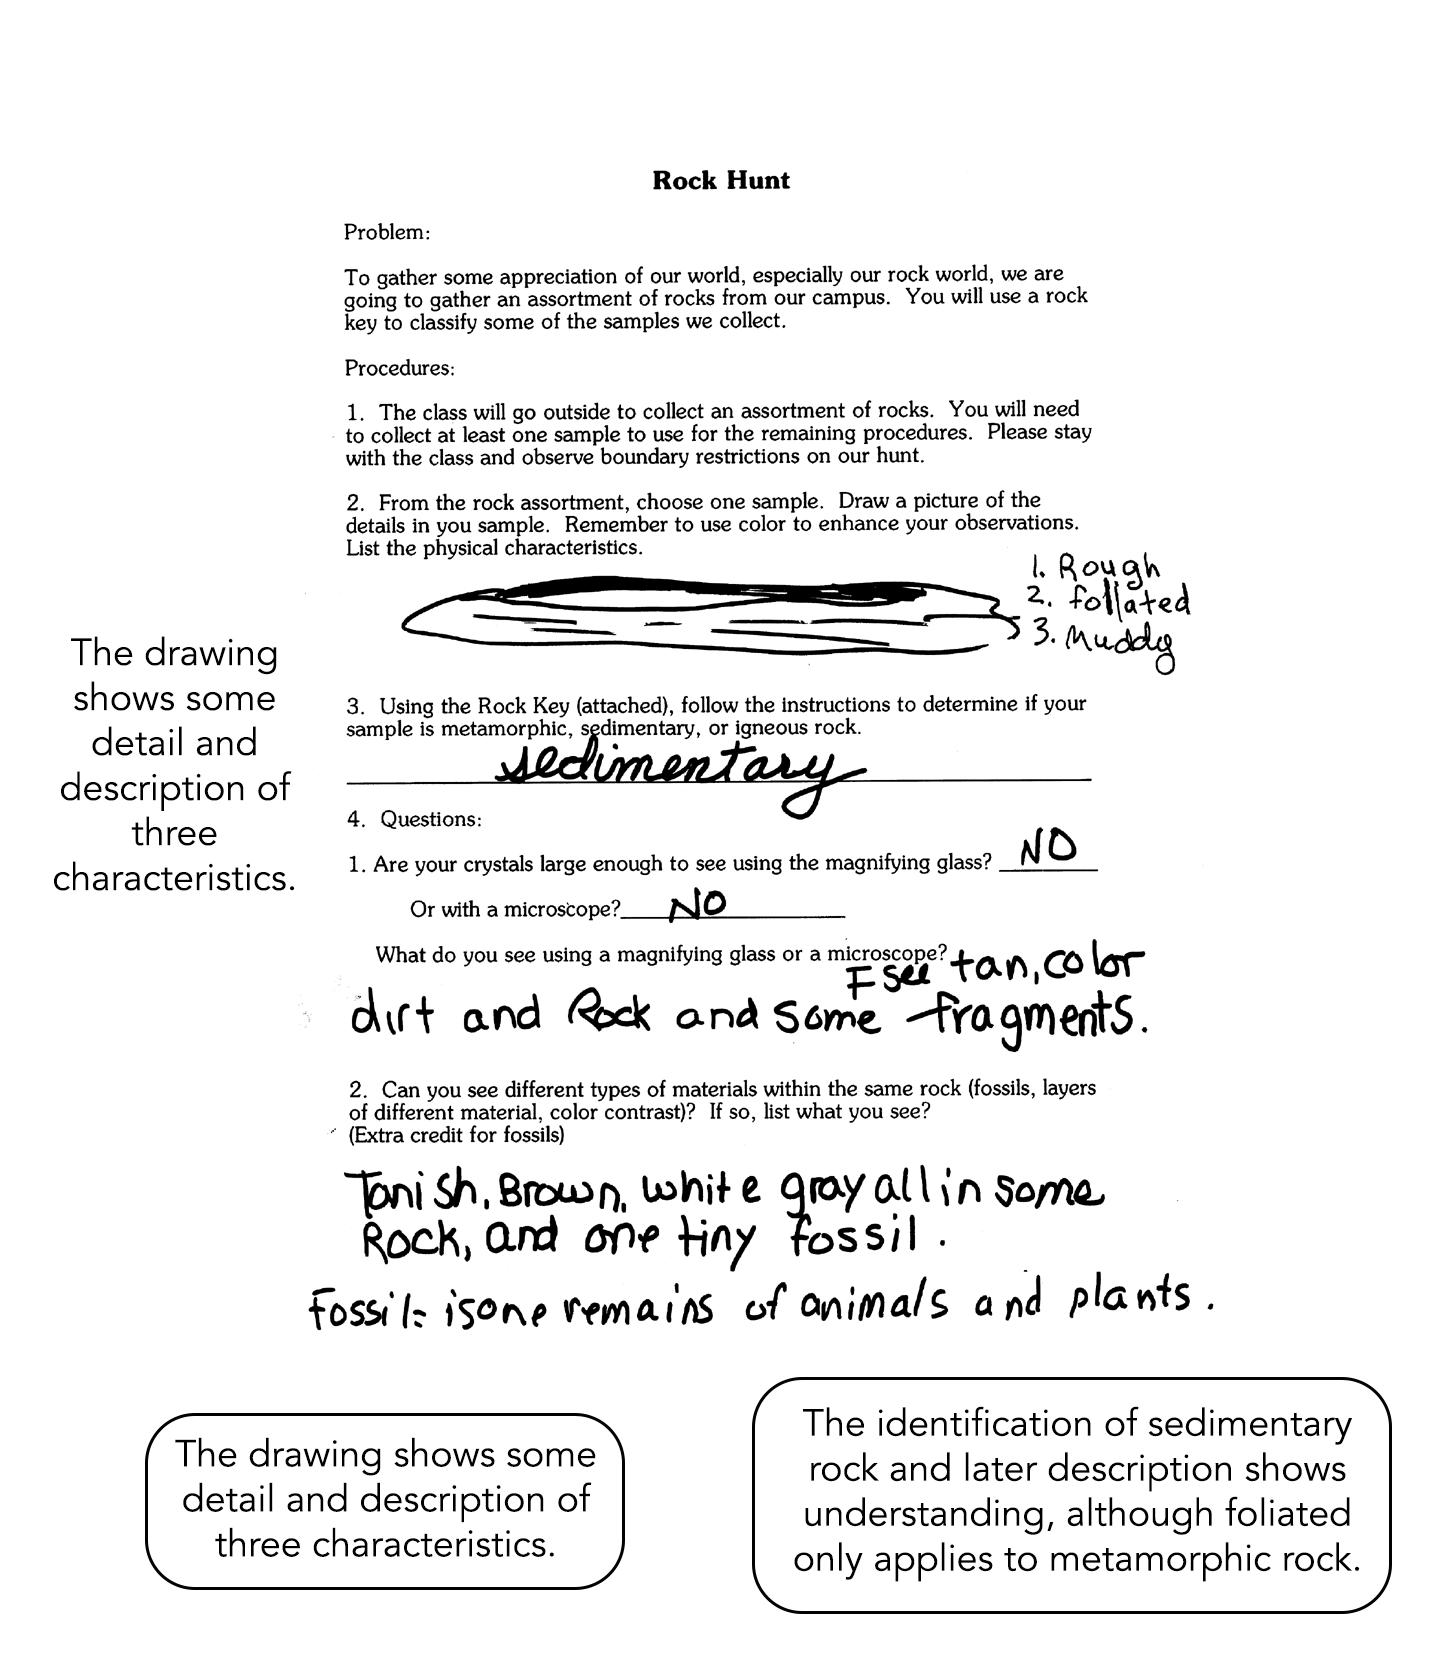

The student’s drawing of the rock sample shows some details and lists three of the rock's physical characteristics (rough, foliated, muddy). Dark and light colors are indicated in the drawing. The student identifies the rock as sedimentary and later describes several appropriate characteristics, indicating an understanding of observable characteristics but a lack of understanding that “foliated” applies only to layering in metamorphic rock. The student shows evidence of attempting to use tools (magnifier and microscope) appropriately and identifies no crystals; tan, brown, white and gray colors; dirt and rock fragments; and a fossil. The student classifies rocks as a mixture and provides an explanation with examples (soil, rock particles, crystals) – indicating some understanding of the scientific term. Conclusions are based on appropriate procedures, including use of the rock identification key and other tools and on an analysis of observed properties, indicating a successful strategy for investigation.
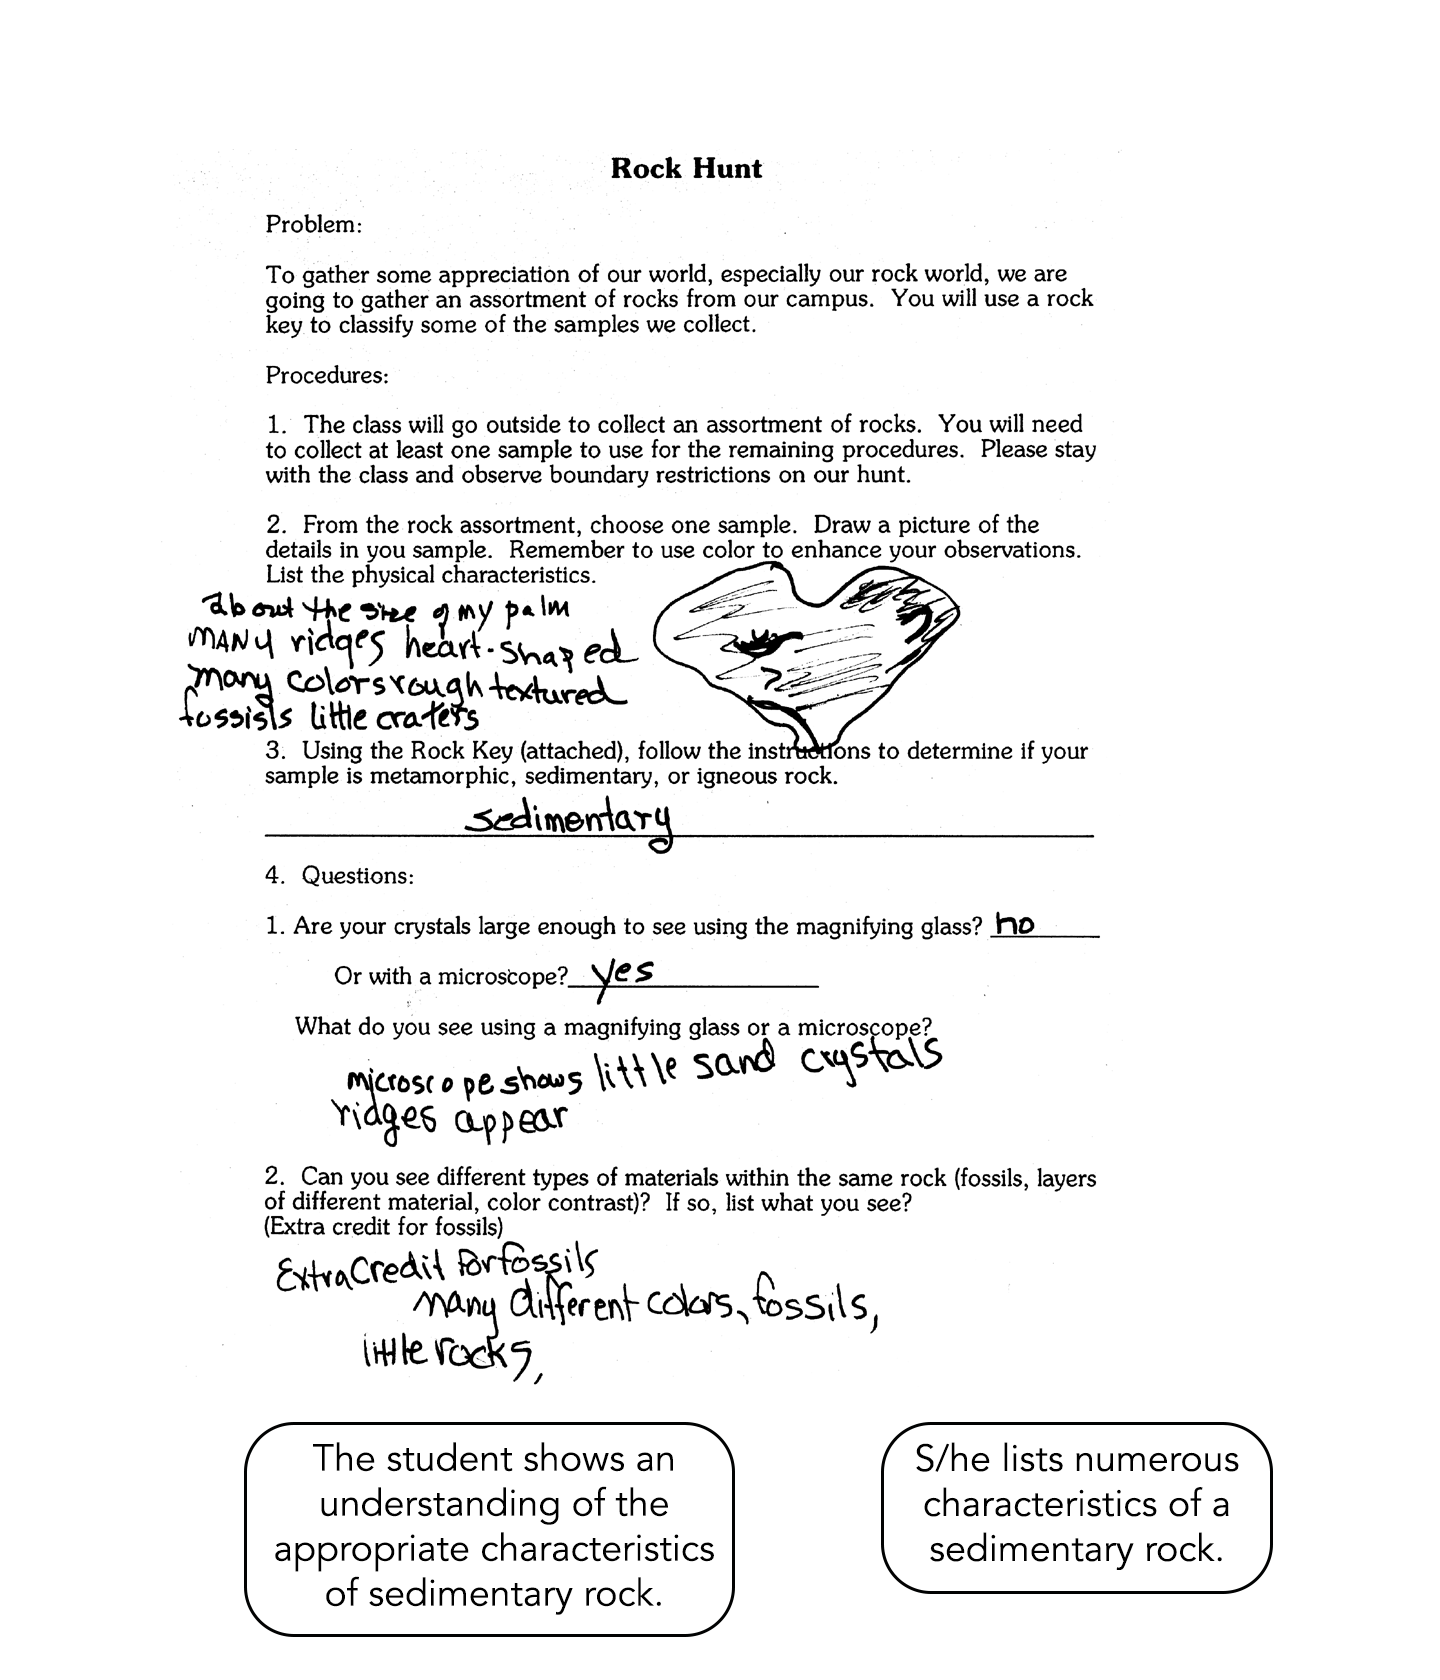
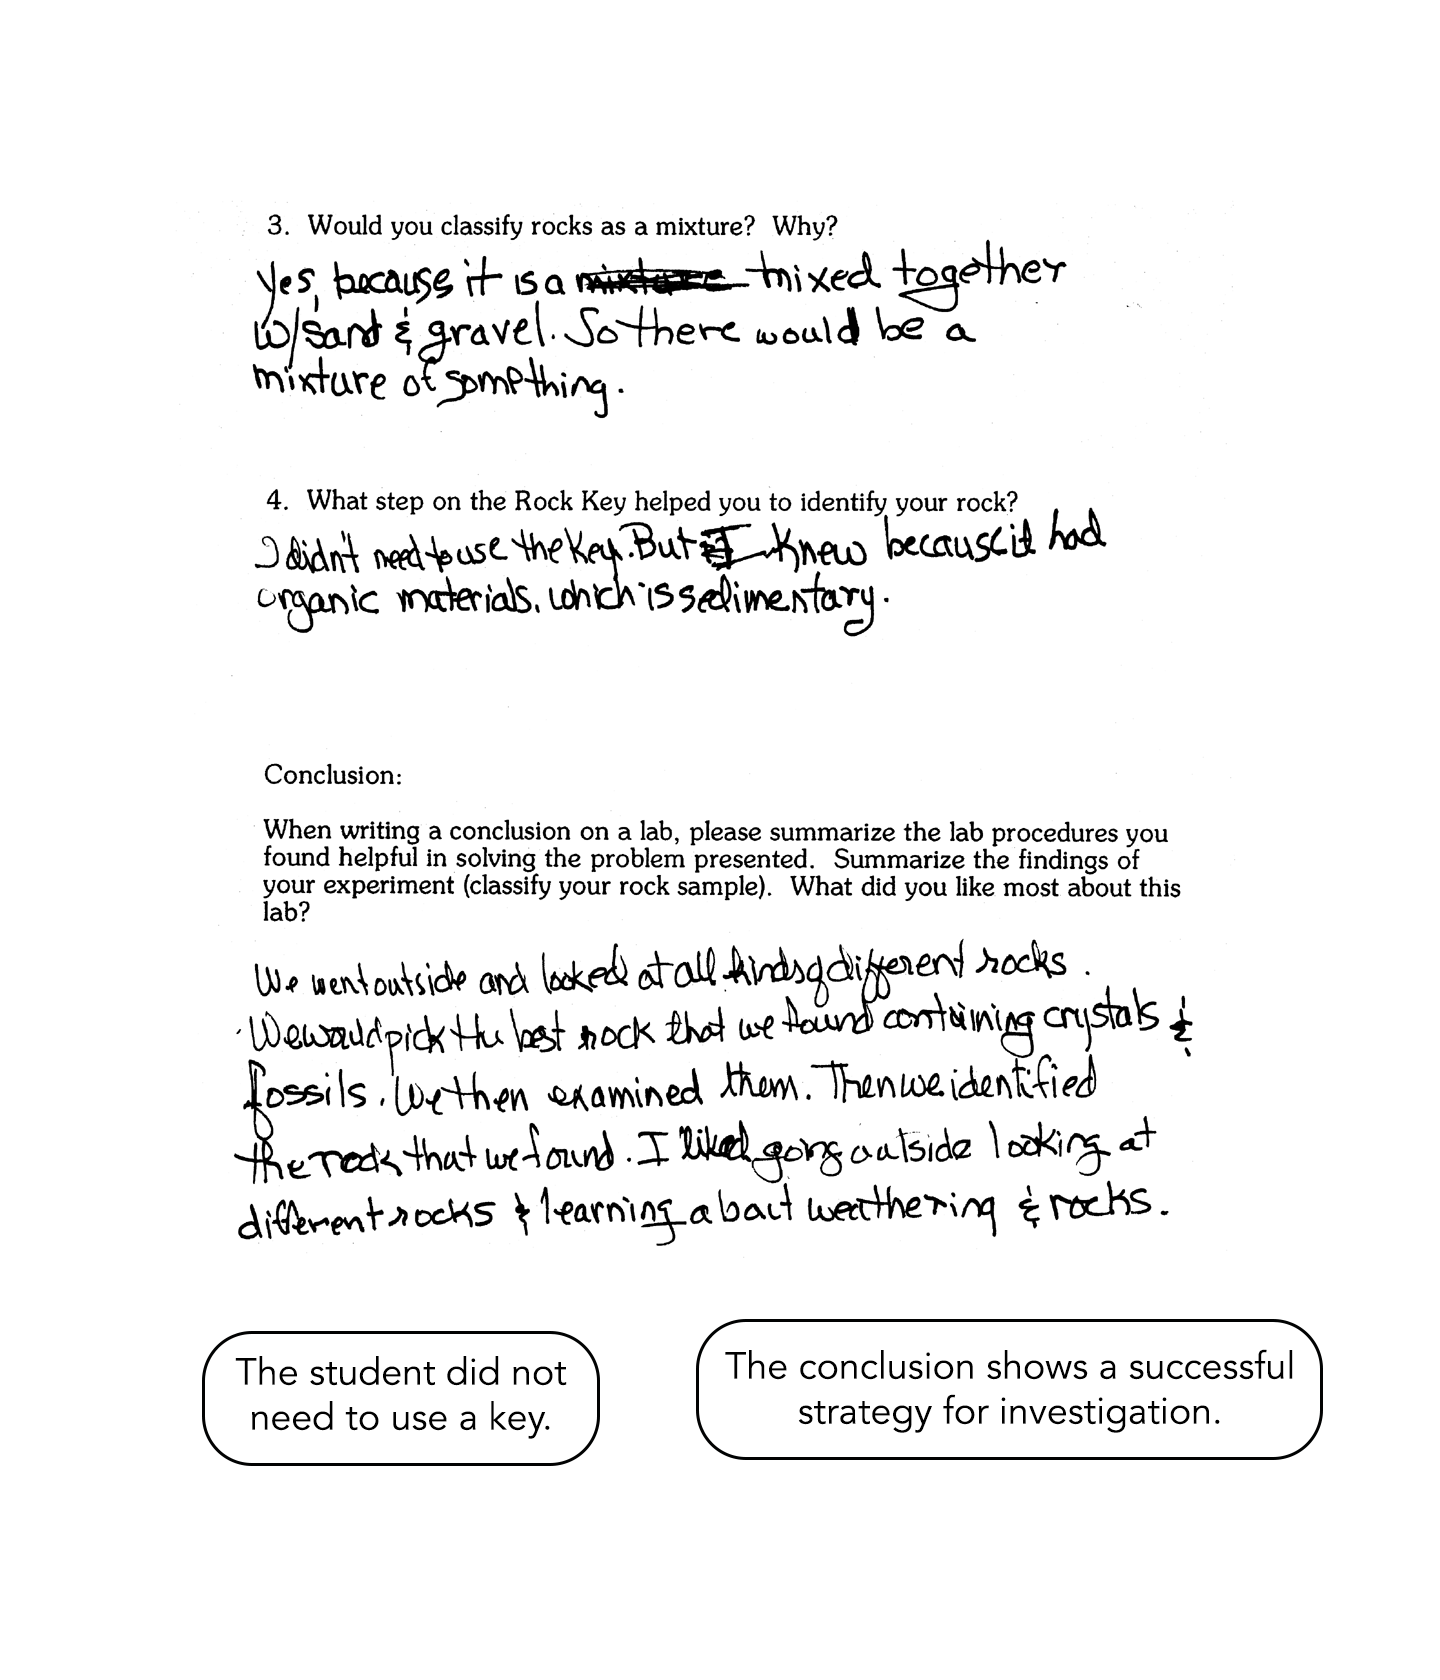
The student’s drawing of the rock sample shows details and lists numerous physical characteristics (rough, size of palm, ridges, colors, etc.). The student identifies the rock as sedimentary and later describes appropriate characteristics, indicating an understanding of observable characteristics of sedimentary rock. The student shows evidence of attempting to use tools (magnifier and microscope) appropriately and identifies surface features, colors, sand, little rocks and a fossil. The student classifies rocks as a mixture and provides an explanation with examples (sand and gravel) – indicating some understanding of the scientific term. Conclusions include a more full explanation of the procedure, including the characteristics used for identification, tools used and an analysis of observed properties, indicating a successful strategy for investigation. The student did not need to use a key.
Note: This is classified as Expert primarily due to the detail included with the drawing, the scientific vocabulary used in explanations, and the procedural description in the conclusions.